It’s the week before Christmas and all through the house… there is activity everywhere! At one point last week it was like 60 minute makeover. We had every trade working in different rooms all over the house. It’s actually really nice to be able to recognise the guys working on the place and see them build our home, and that’s what it is starting to feel more and more like. Particularly because one of the rooms is painted and has skirting, architraves and a door!

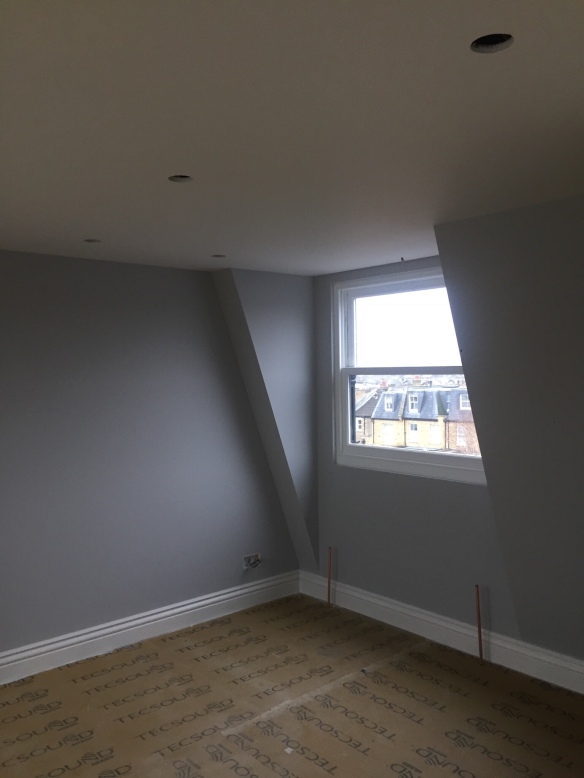

The wall colour is Farrow & Ball no.228 Cornforth White (which is actually light grey) and the skirting is Strong White no. 2001. It took us just a two hour phone call one evening to agree on colours! (It took is far far longer the last time round!)
F&B’s website is really good too, as they have a “colour scheme” section that helps you see complementary colours side by side, and a house inspiration page too.
We’ve also had fitted some floor insulation called “Techsound” because the floor and ceiling are the same (to maximise space on both floors) and because one day Hunter might take up the drums.
The other loft bedroom has been primed and ready to be finished:
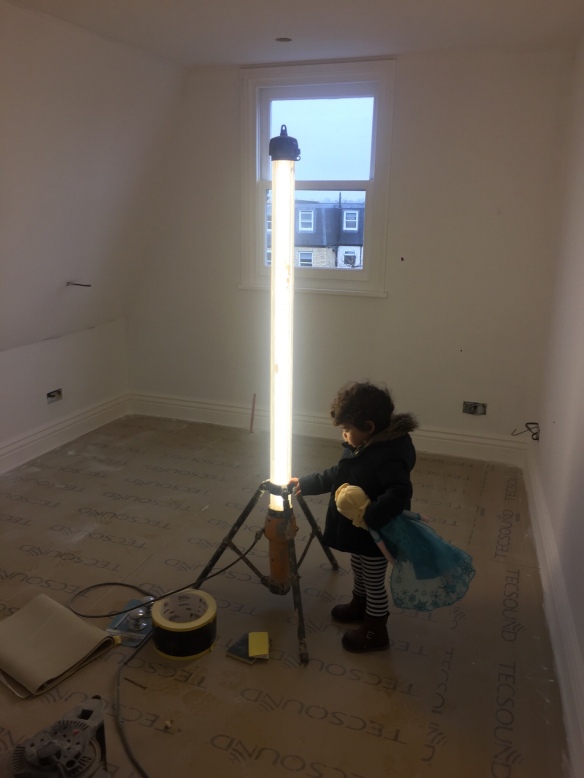
Enough space for Hunter to try out his new lightsaber 😂
On to our new additional bathroom…
It’s a little easier now to explain the layout of the new bathroom. Although it is stealing space from the front bedroom (the one with the bay window) and will likely be used by this bedroom, it is not actually an en-suite.
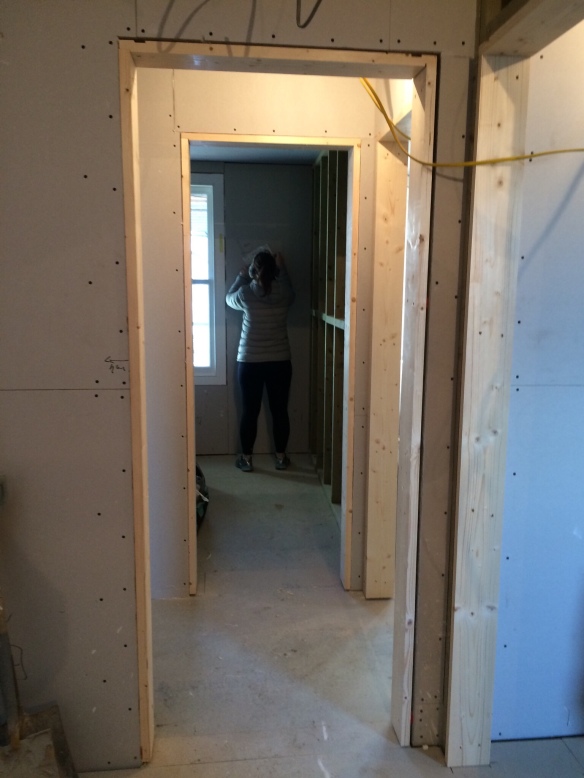 We’ve kept the door originally meant for the bedroom door and created a “lobby” which one can access either the bedroom or the bathroom from. This makes the bathroom more versatile. The bedroom next door can use it or you can lock the hallway side door and use it as a suite.
With the layout we agreed on a double sink, allowing for more storage and being far more practical than a second bath.
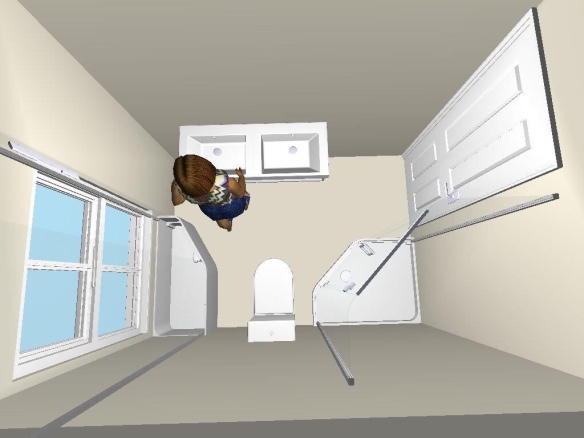 The window is quite low, so we’ve chosen to have an ottoman under it.
Now that the walls are up we also checked the space in the now much smaller bedroom, and you know what- it still fits a decent size bed and shouldn’t look like we’ve shoehorned in that bathroom.
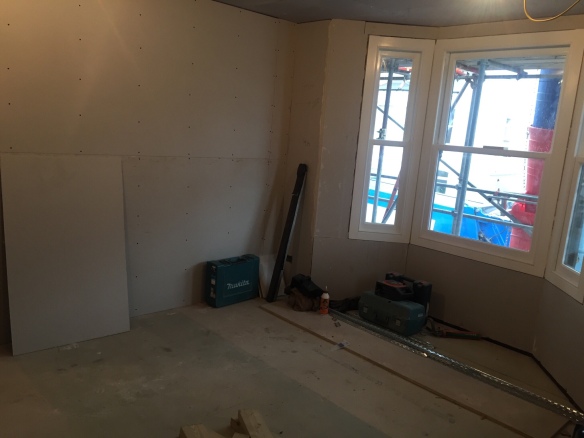 The side bedroom now has a floor
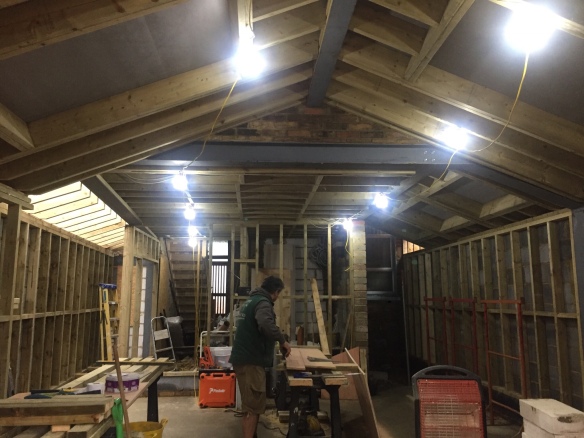
 We have exciting things happening in the kitchen extension!!!
Back in October when the extension was just a frame and the steels had only just gone in we had to discuss some options with the side return.
Because the kitchen is so much lower than the front of the house it meant that the side return roof section of the extension would end up cutting across the reception room window at the middle of where it currently is. It would also mean that if we want to make that area accessible from the reception room the head height wouldn’t be enough to do so.
The extension was left in this state until we had a plan agreed:
 By the way, the reason why the first floor looks as if it is floating is because the steels have been ‘hidden’ in to the floor. One of the added bonuses of knocking down and starting again. Usually in extensions you will see the steels jutting out below the ceiling. Ours will be cleverly hidden.
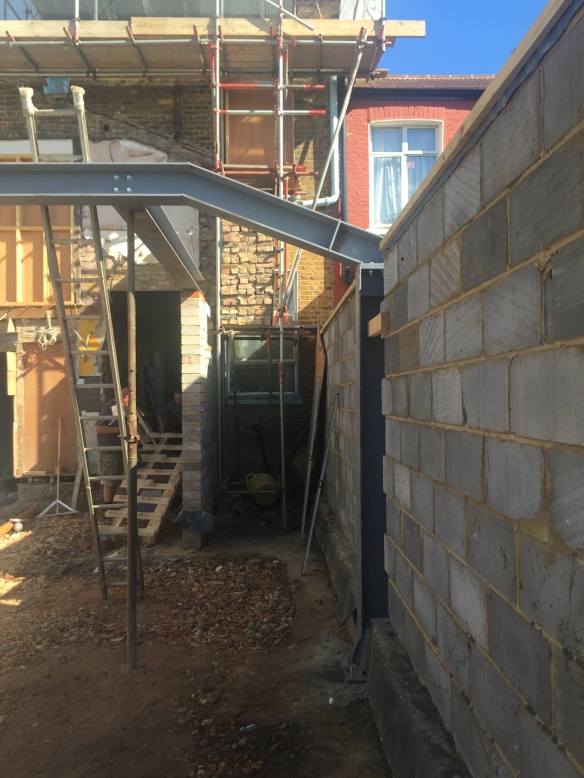
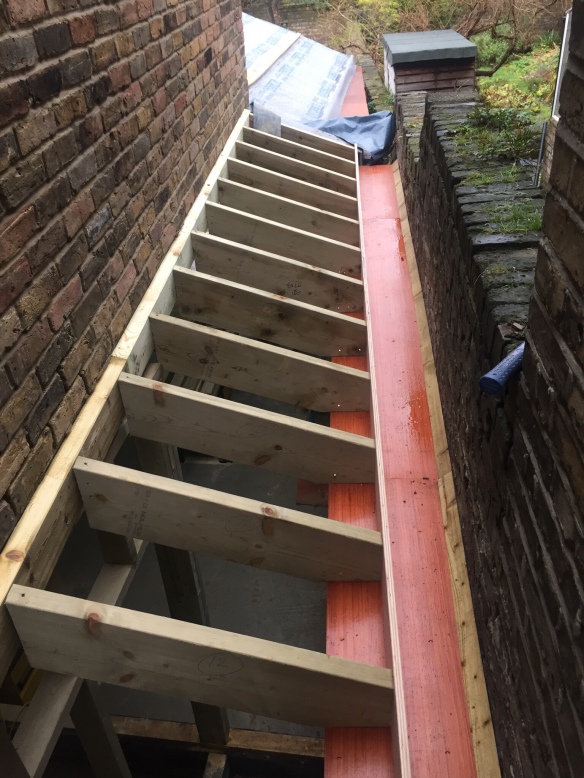
Back to the side return. We needed to keep the roof at the same angle as the section at the rear of the house. (You’ll see why later)
So we came up with a solution where the roof raises up by half a metre enough to allow for that important head height, but only for one velux depth so as to not spoil the roof profile.
Once agreed the roof went from this:
 To this:
 And now this until the Velux windows arrive
 Now you can see why the roof angle needs to be the same. Doesn’t it look so nice!
On the other side of the kitchen there’s another sloped roofline but smaller and hidden from the back view because of the angles of the plot
 This is the wall our kitchen units will be against, and because it is smaller, we’ve decided against more velux windows. There will be plenty of light in this space:

 And finally, Merry Christmas to all our blog readers (both of you 😂) we hope you’ve enjoyed following the progress so far. We can’t wait for January when some of the fittings will be installed (lights, bathrooms and tiles!) and our sliding doors arrive!
See you in the new year!
A&K
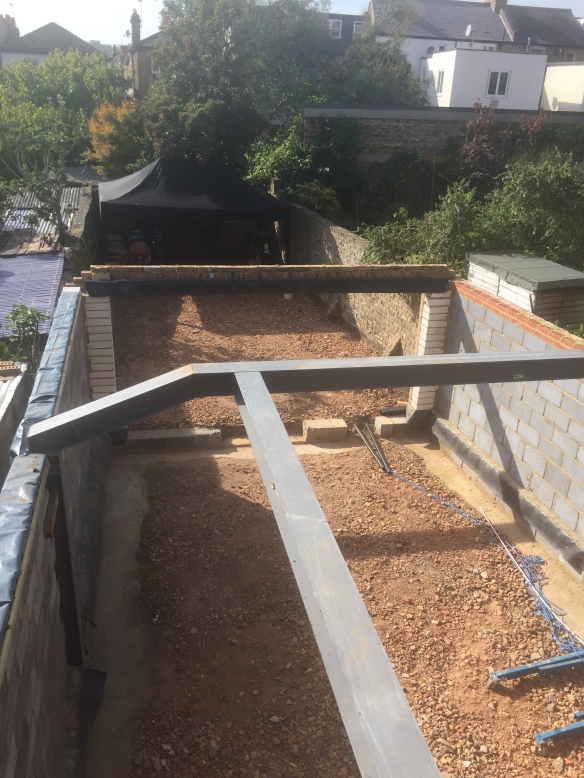
 The concrete walls are laid, and steels for the structure are in! What’s also quite cool is what Paul decided to do with the old rubbly bricks from what was here before – see all that red hardcore on the ground? That’s the old house! The bricks that couldn’t be re-used as actual bricks have been recycled, with the help of a brick grinder, in to the foundations of the new extension. It’s a nice thought that the new part of our home has been built on the old bricks.
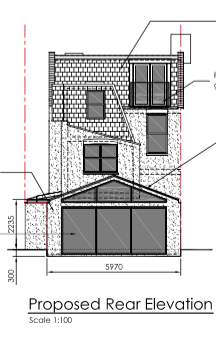 This will be a pitched roof with four glazed windows so that the kitchen is flooded with light. At the end will be 3 large floor-to-ceiling sliding glass doors, with a glass triangular gabled end above them.